For the longest time, I’ve procrastinated on finding a good backup and storage solution for my Fujifilm RAW files. My solution up until recently involved manually copying my photos across two external SSD drives. This was quite a hassle and I hadn’t yet figured out a good off-site backup strategy.
After hearing constant news updates of how hard drive prices have been surging due to AI data center buildouts, I finally decided to purchase some hard drives and set up a homelab to meet my storage and backup needs. I also used this opportunity to explore self-hosting some apps I’ve been eager to check out.
Contents#
Hardware#
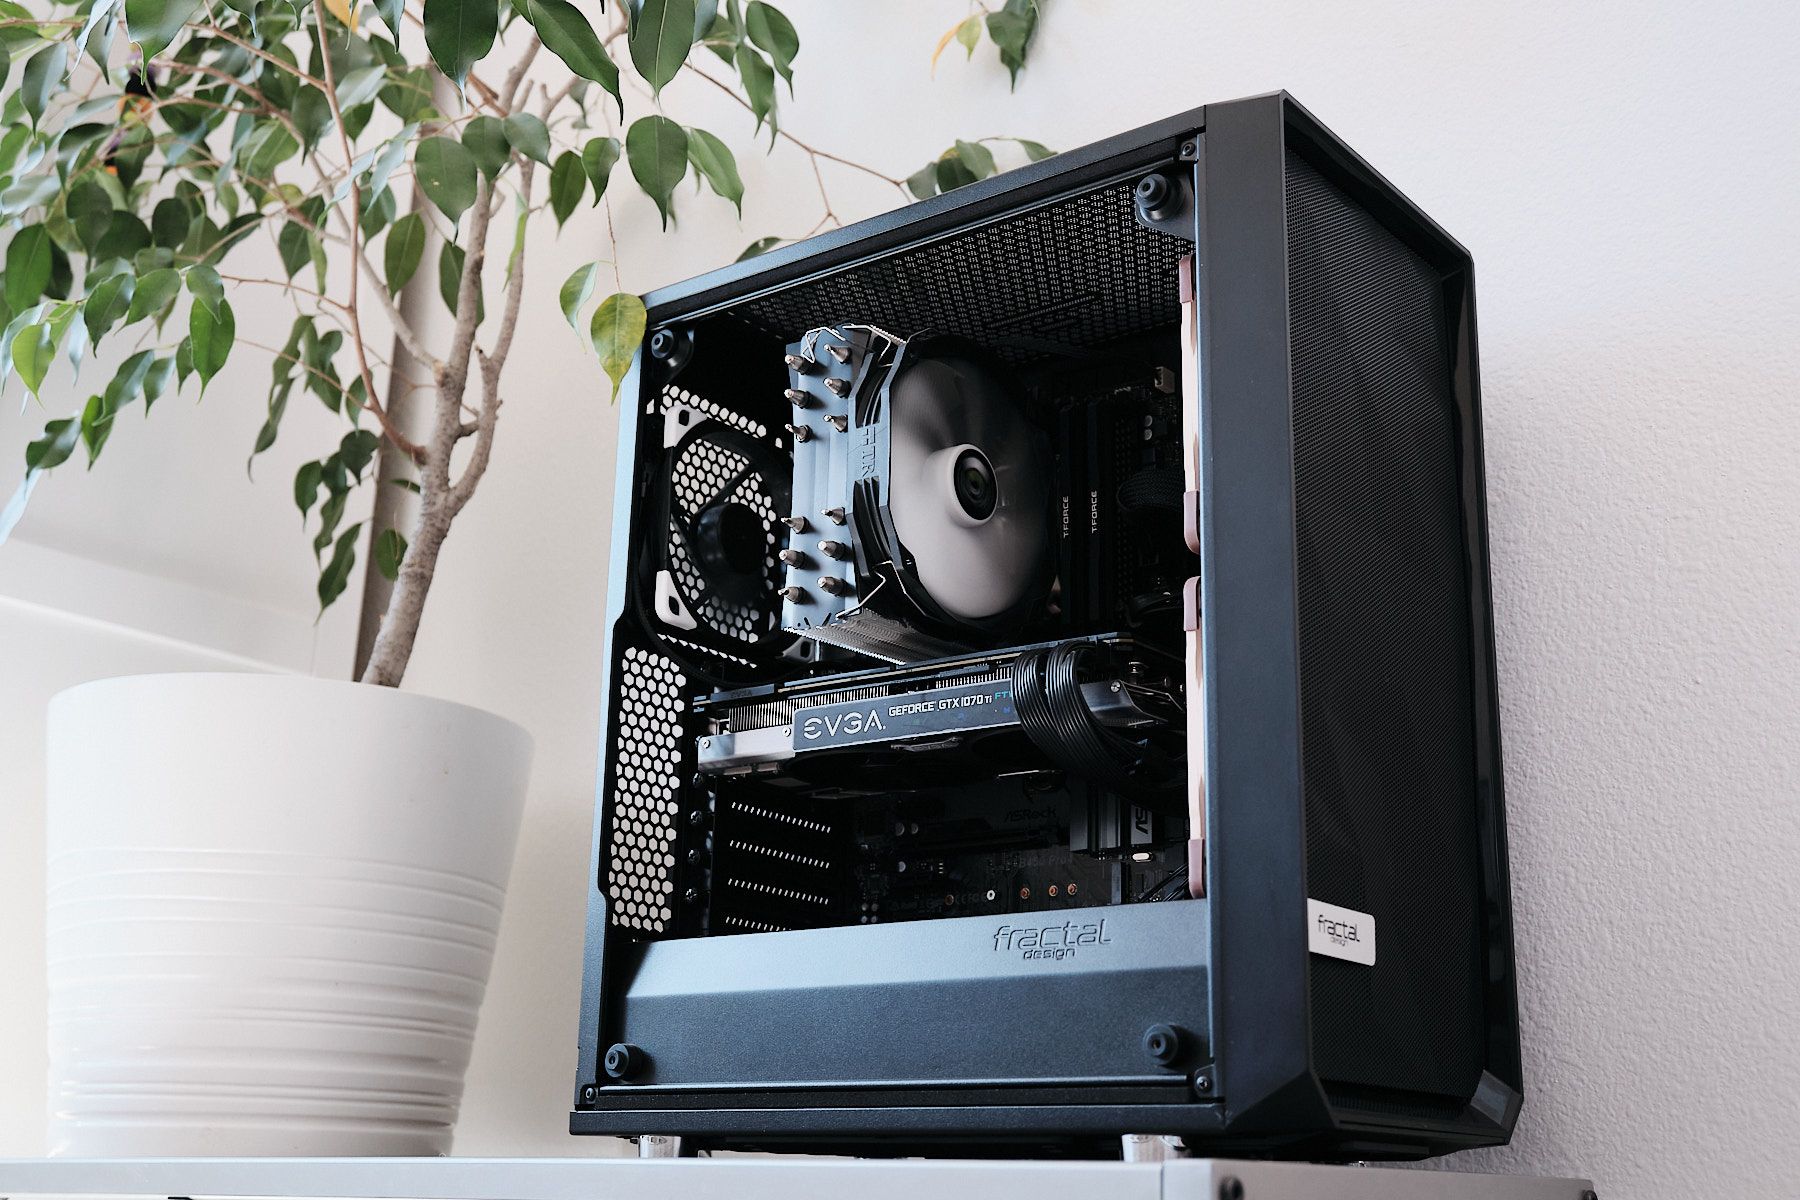
I repurposed my old gaming PC I built back in 2018 for this use case. This machine has the following specs:
| Component | Product |
|---|---|
| CPU | AMD Ryzen 5 2600X 3.6 GHz 6-Core Processor |
| Motherboard | ASRock B450 Pro4 ATX AM4 |
| RAM | G.Skill Flare X 16 GB (2 x 8 GB) DDR4-3200 CL14 |
| GPU | EVGA FTW2 GAMING iCX GeForce GTX 1070 Ti 8 GB |
| Case | Fractal Design Meshify C ATX Mid Tower |
| PSU | SeaSonic PRIME Gold 650 W 80+ Gold |
| Storage (HDD) | 2x Western Digital Red Plus 8 TB 3.5” |
| Storage (SSD) | Samsung 850 Evo 500 GB 2.5” |
| Storage (NVMe) | Western Digital Blue SN550 500 GB M.2-2280 |
I purchased the Western Digital hard drives over the winter holiday break. The other components were already installed on the machine when I originally built it.
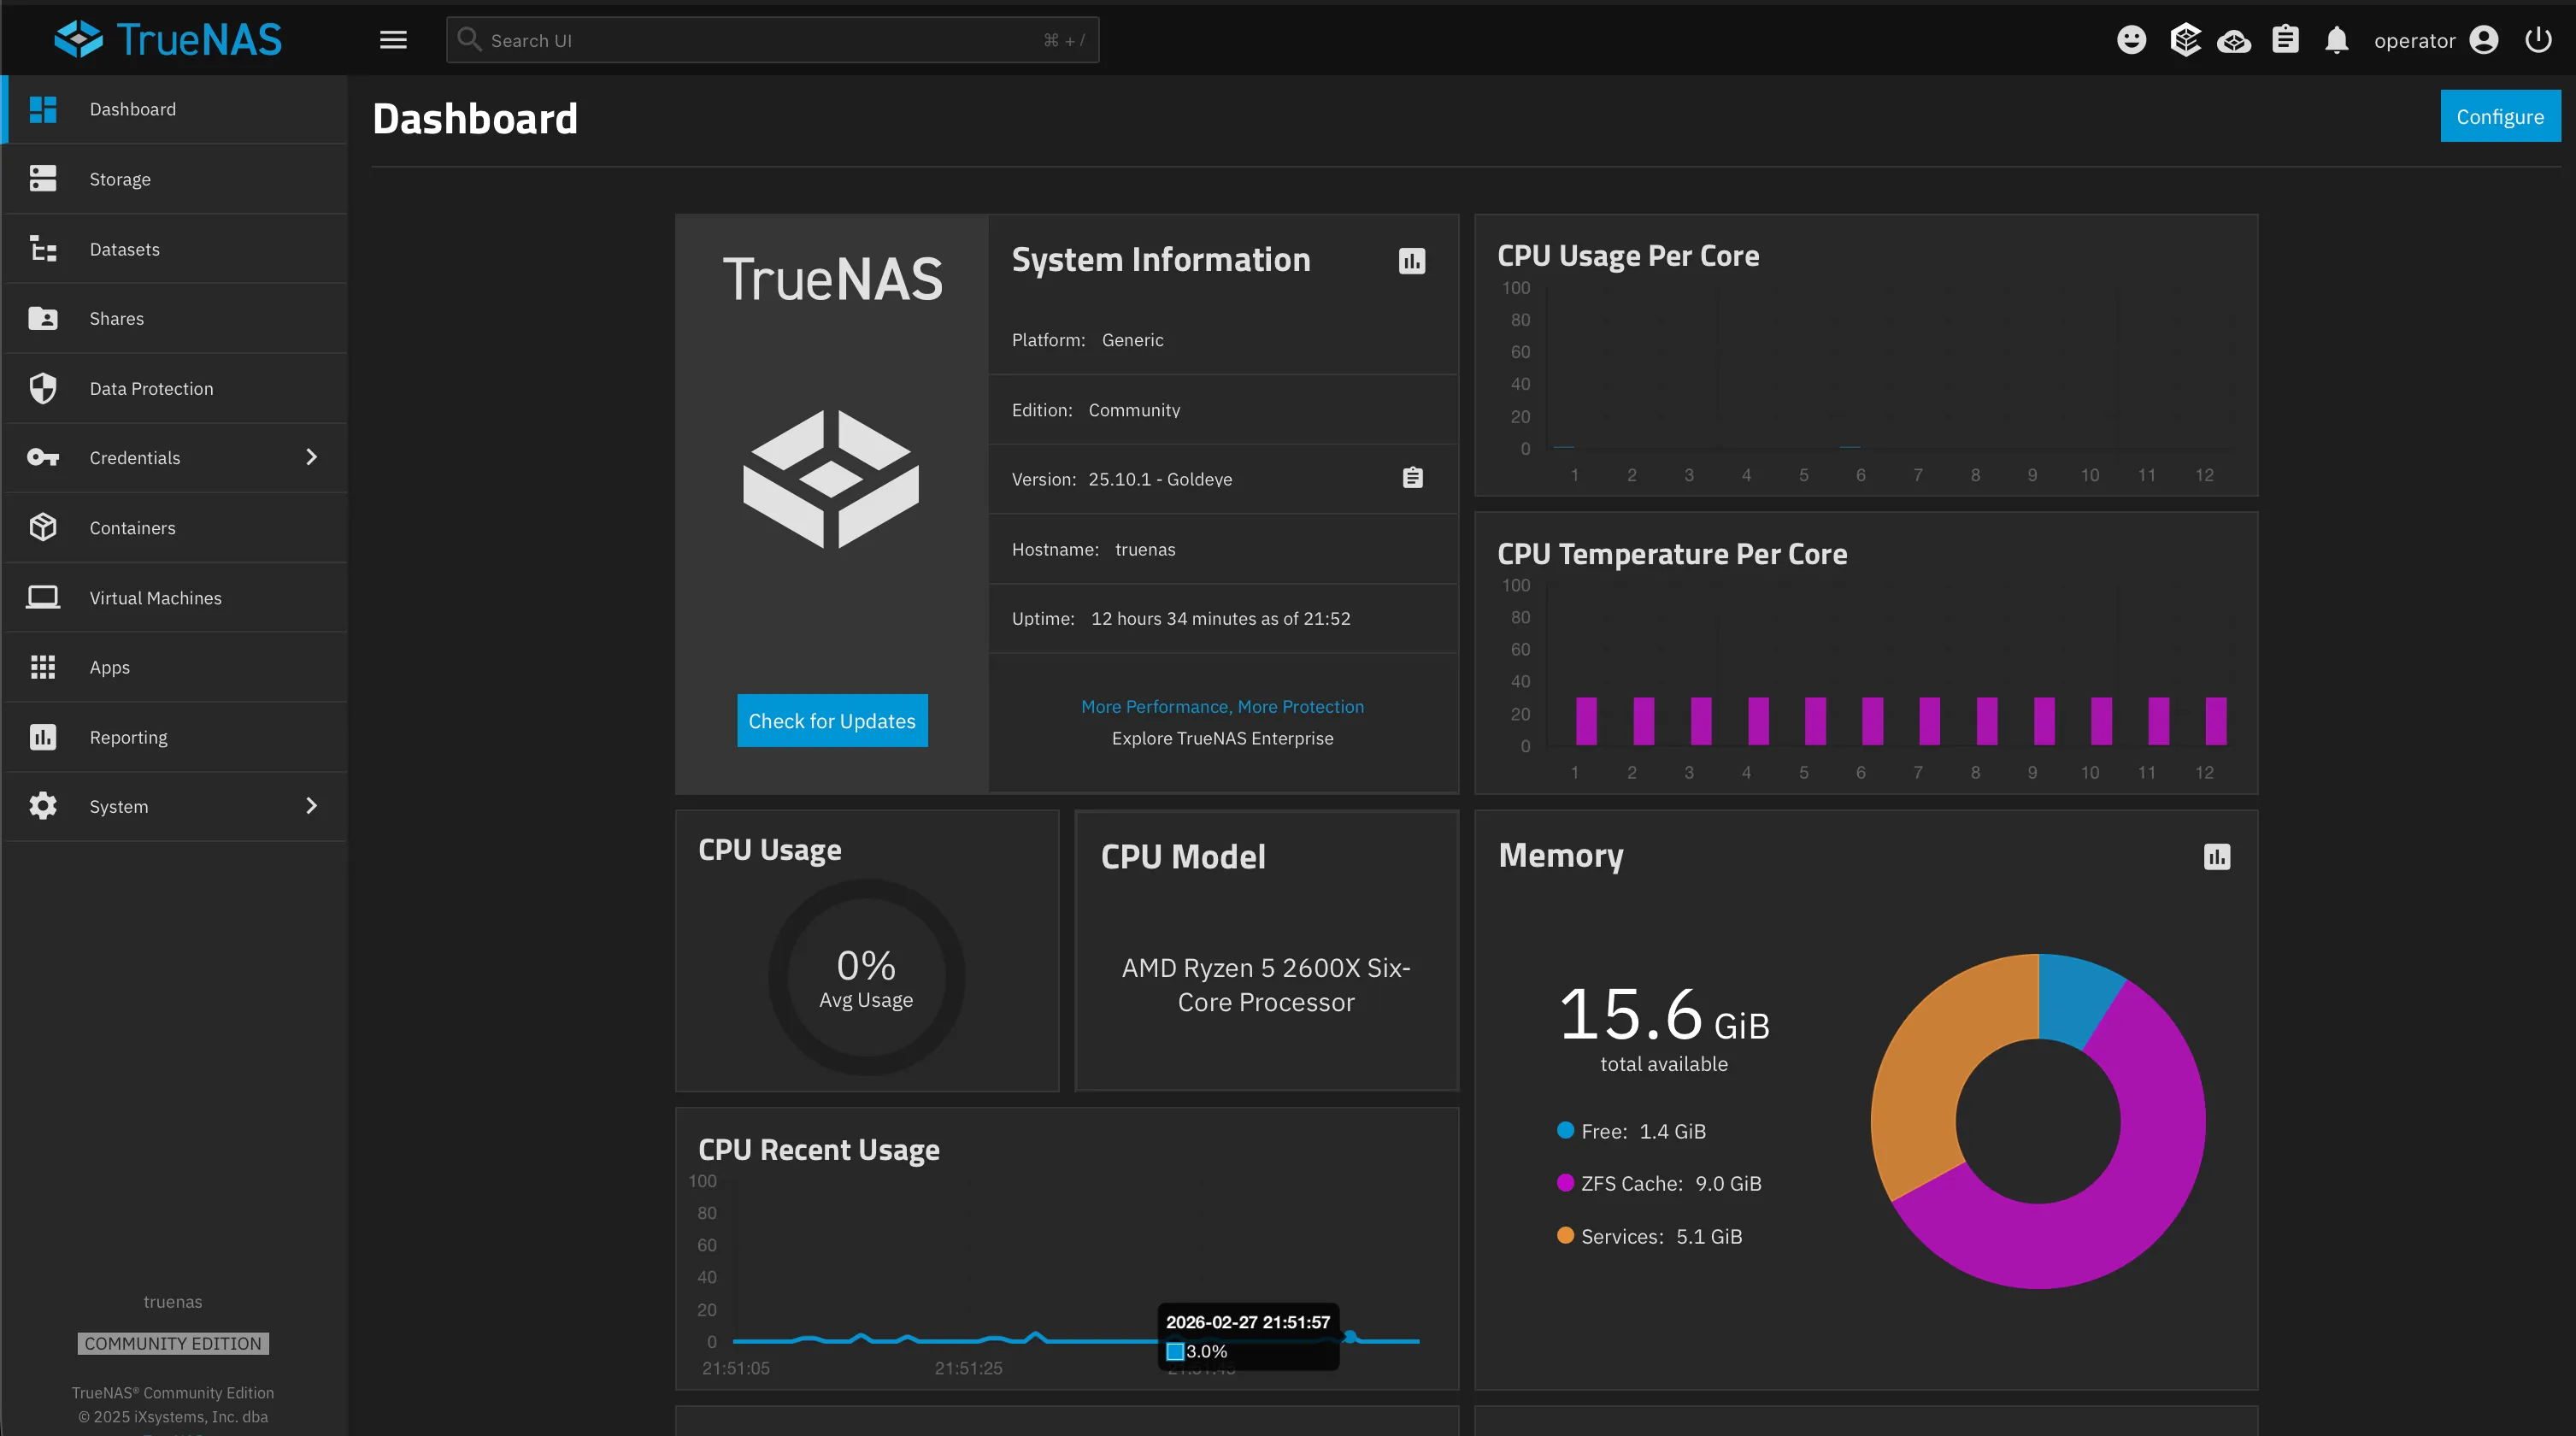
TrueNAS Operating System#
On this machine I installed TrueNAS Community Edition on my NVMe drive. It’s a Linux-based operating system that is well-tailored for network-attached storage (NAS), file storage that is accessible to any device on your network.
For instance, TrueNAS allows you to create snapshots of your data. This is great for preventing data loss. If, for example, you accidentally deleted a file, you could recover it from a previous snapshot containing that file. In other words, a file is only truly deleted if and only if the system has no snapshots containing that file.
I’ve set up my machine to take hourly, daily, and even weekly snapshots. I’ve also configured it to delete old snapshots after a given period of time to save storage space.
Most of my data is mirrored across the two 8 TB hard disks in a RAID 1 setup. This means that if one drive fails, the other drive will still have all of my data intact. The SSD is used to store data from services that I self-host that benefit from having fast read and write speeds.
Apps I’m Currently Self-hosting#
Not only is TrueNAS good for file storage, you can also host apps on it! TrueNAS offers a catalog of apps, supported by the community, that you can install on your machine.
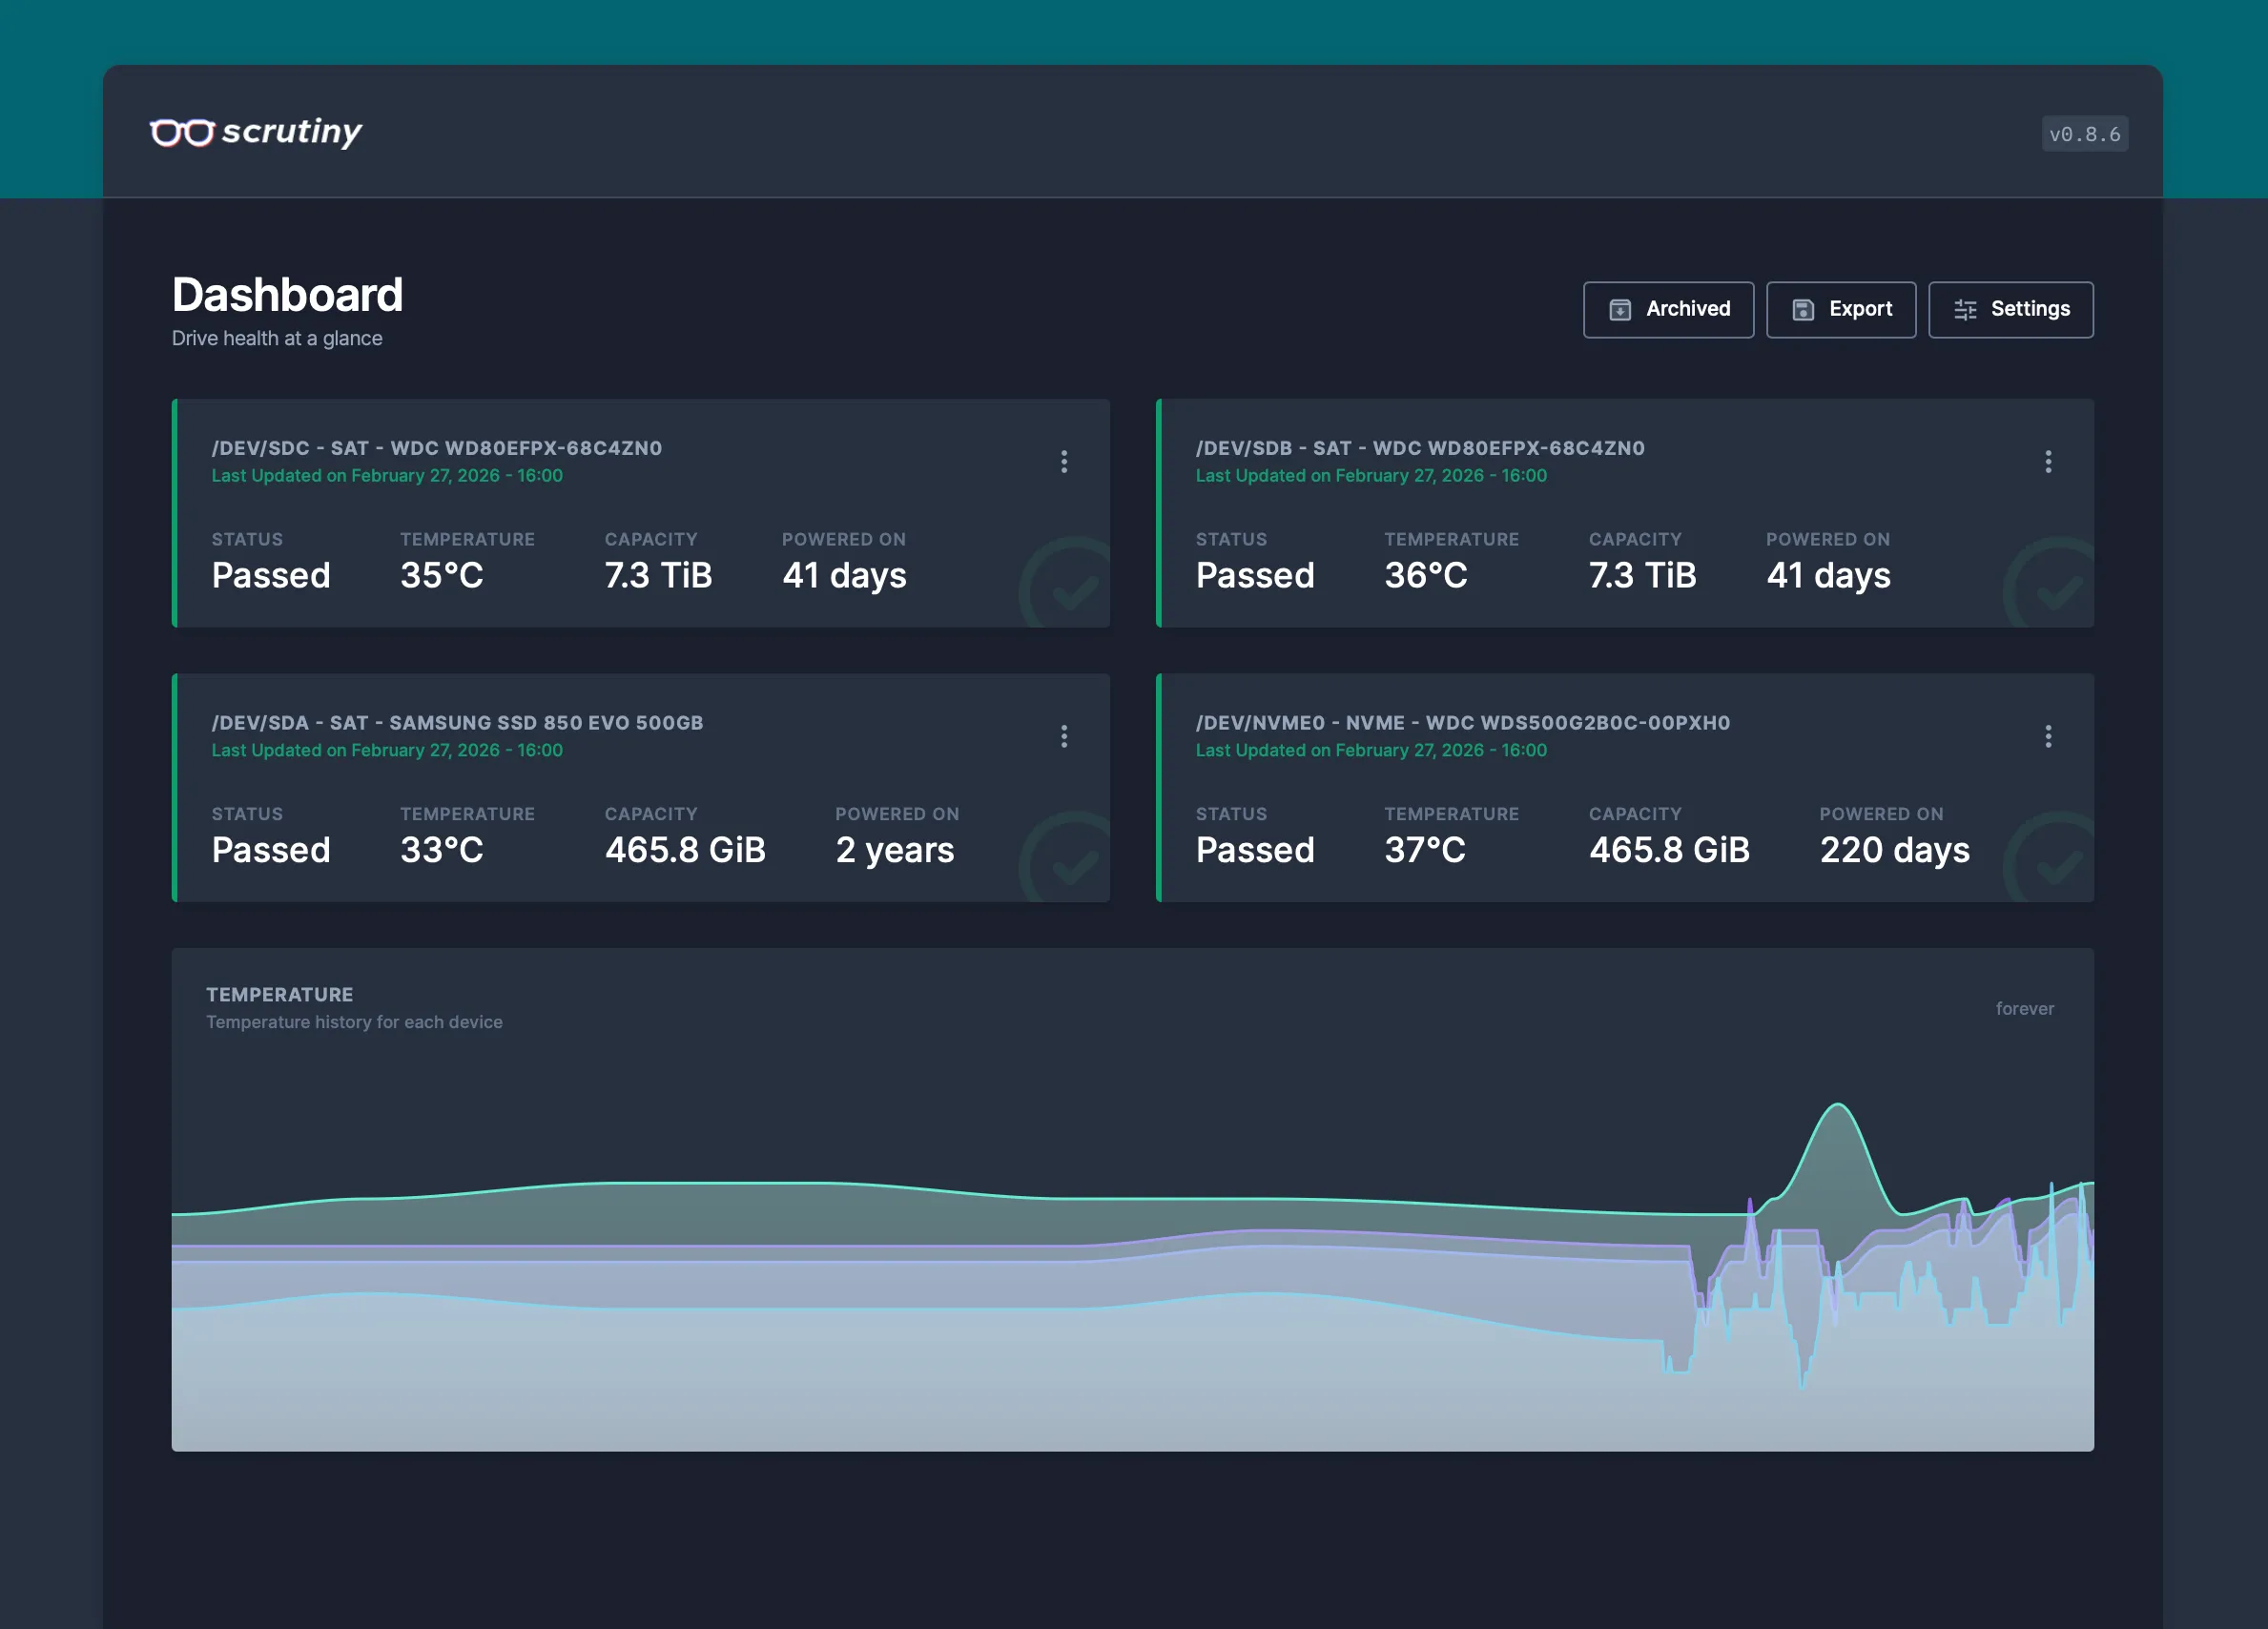
Scrutiny#
Scrutiny is a web dashboard for monitoring the health of your storage drives. Hard drives and SSDs have built-in firmware called S.M.A.R.T. (Self-Monitoring, Analysis, and Reporting Technology) that continuously tracks health metrics like temperature, power-on hours, and read errors.
Scrutiny reads this data and presents it in a dashboard showing historical trends, making it easy to spot warning signs that a drive may fail soon.
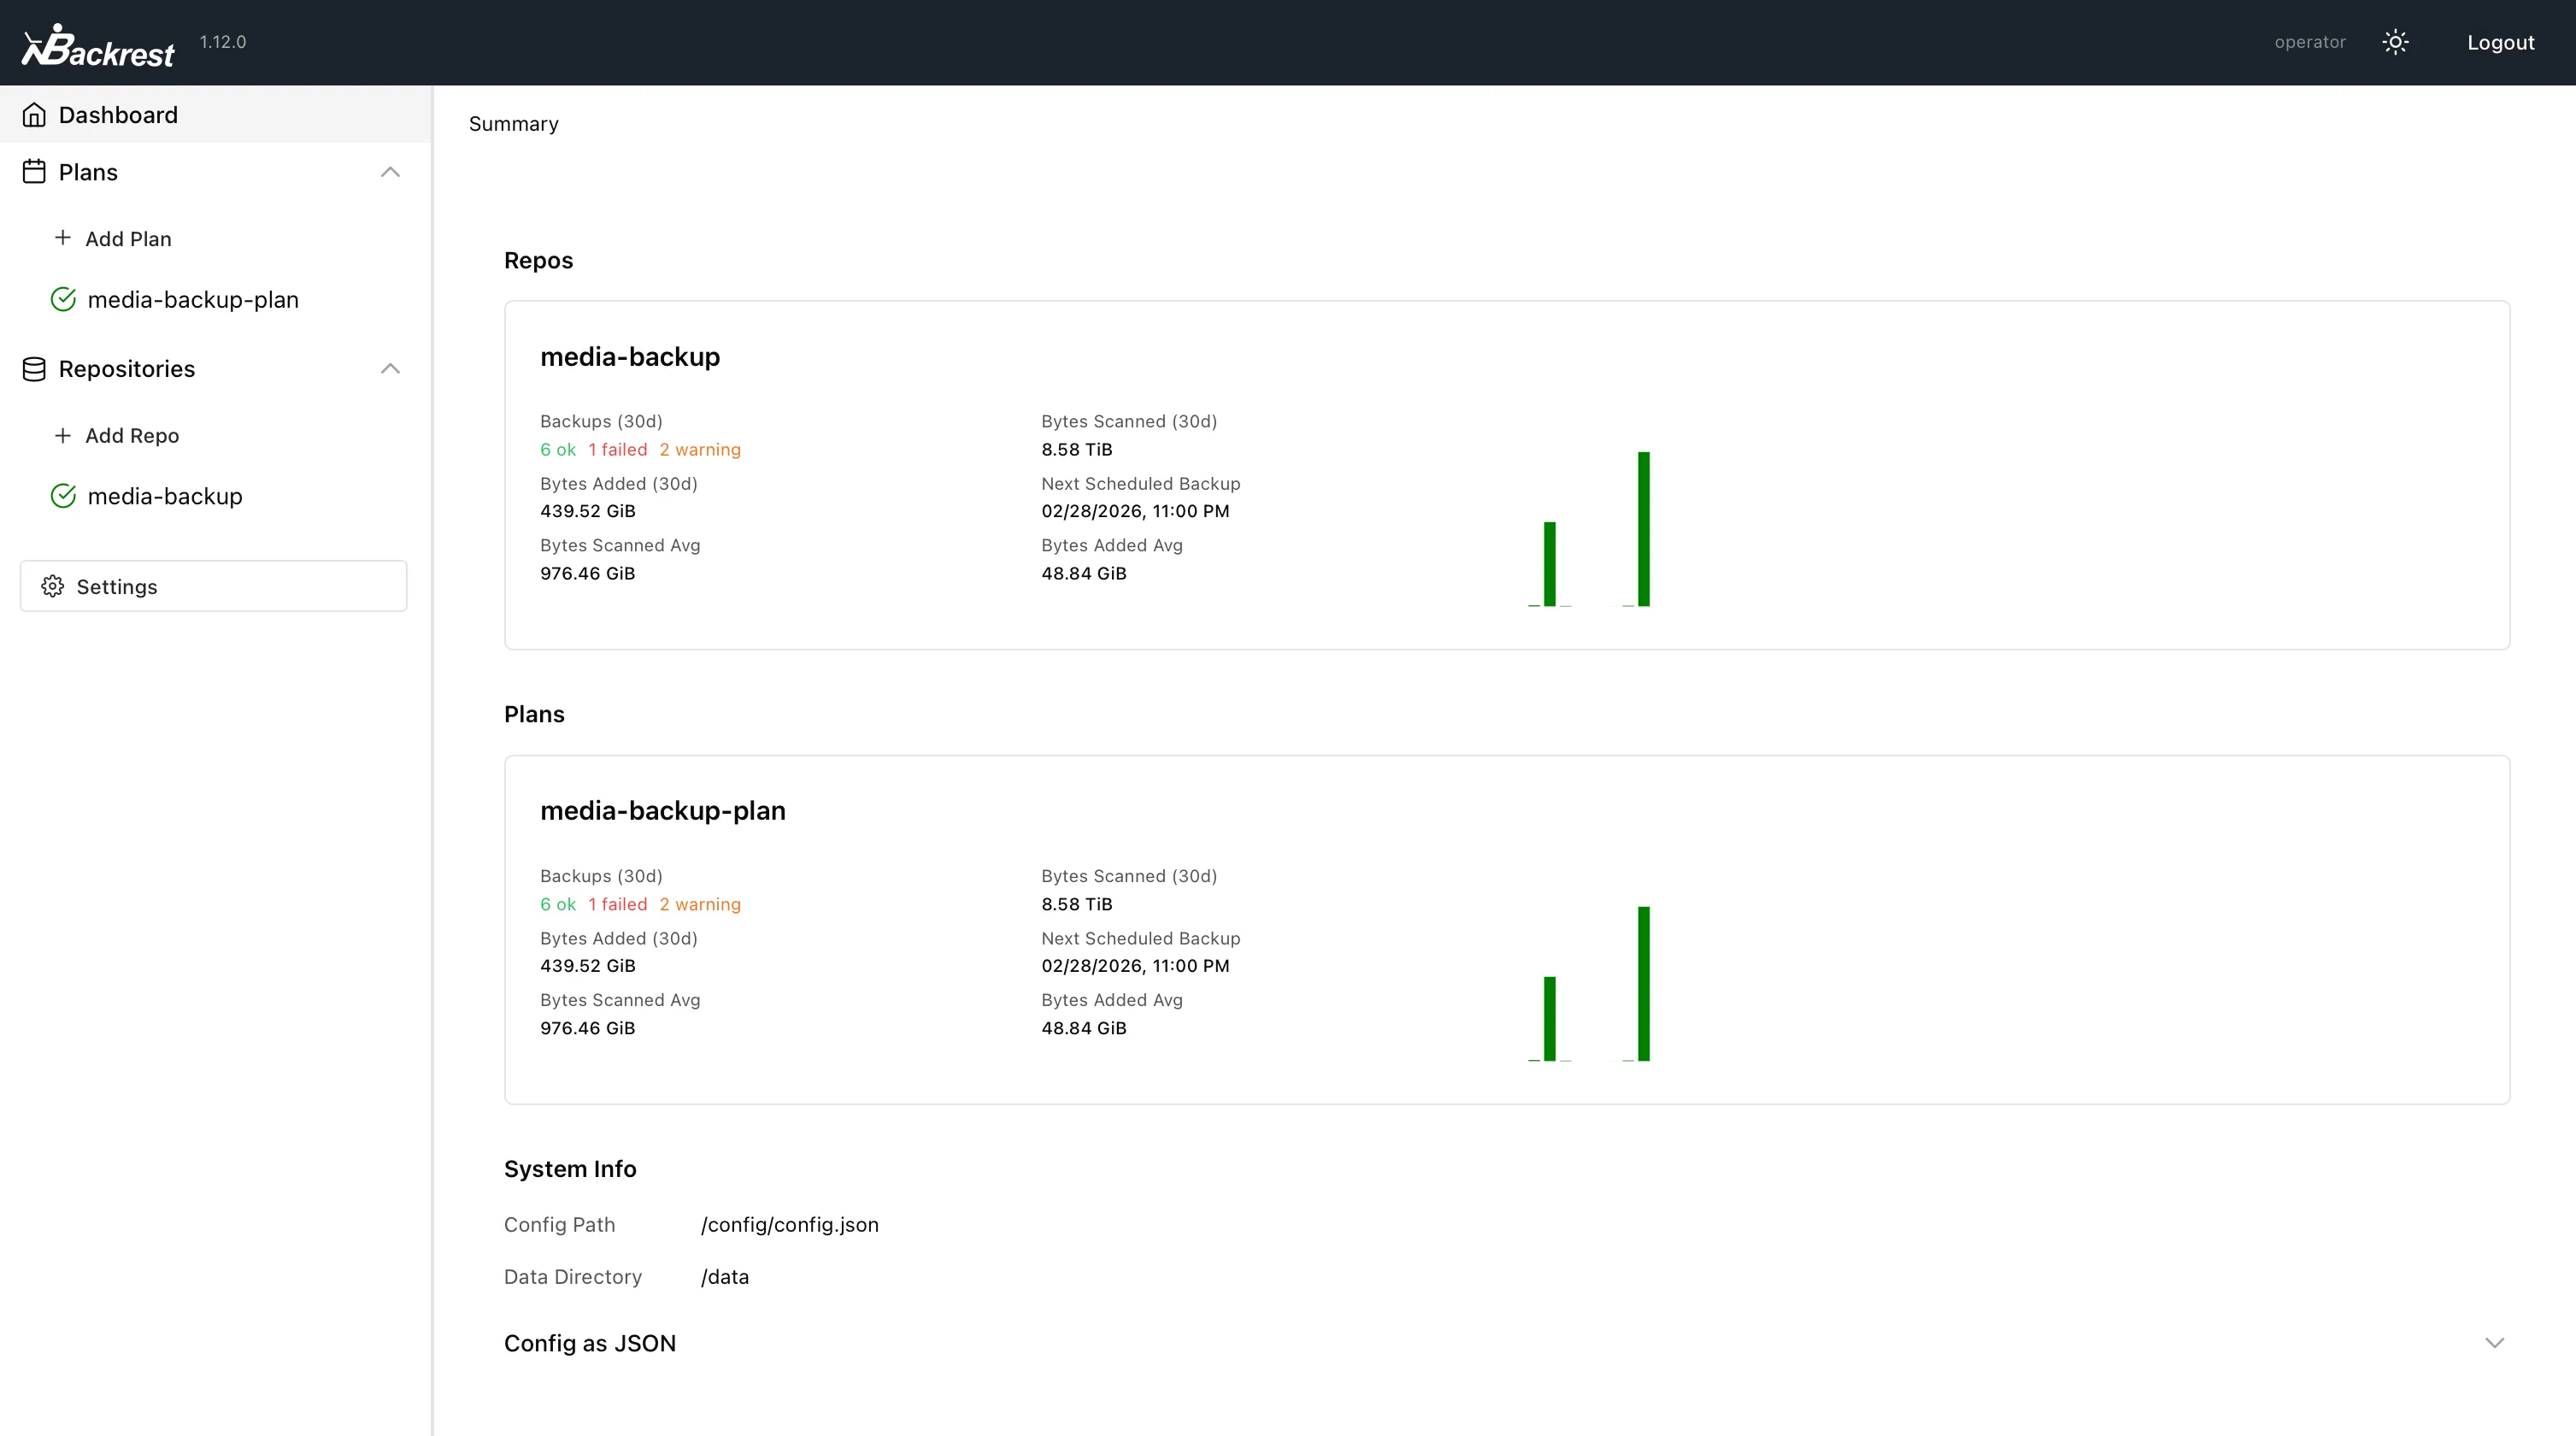
Backrest#
Backrest is a web frontend for restic, a command-line tool used for creating file backups. I’ve set this up to save daily backups of my data to an object storage bucket on Backblaze B2.
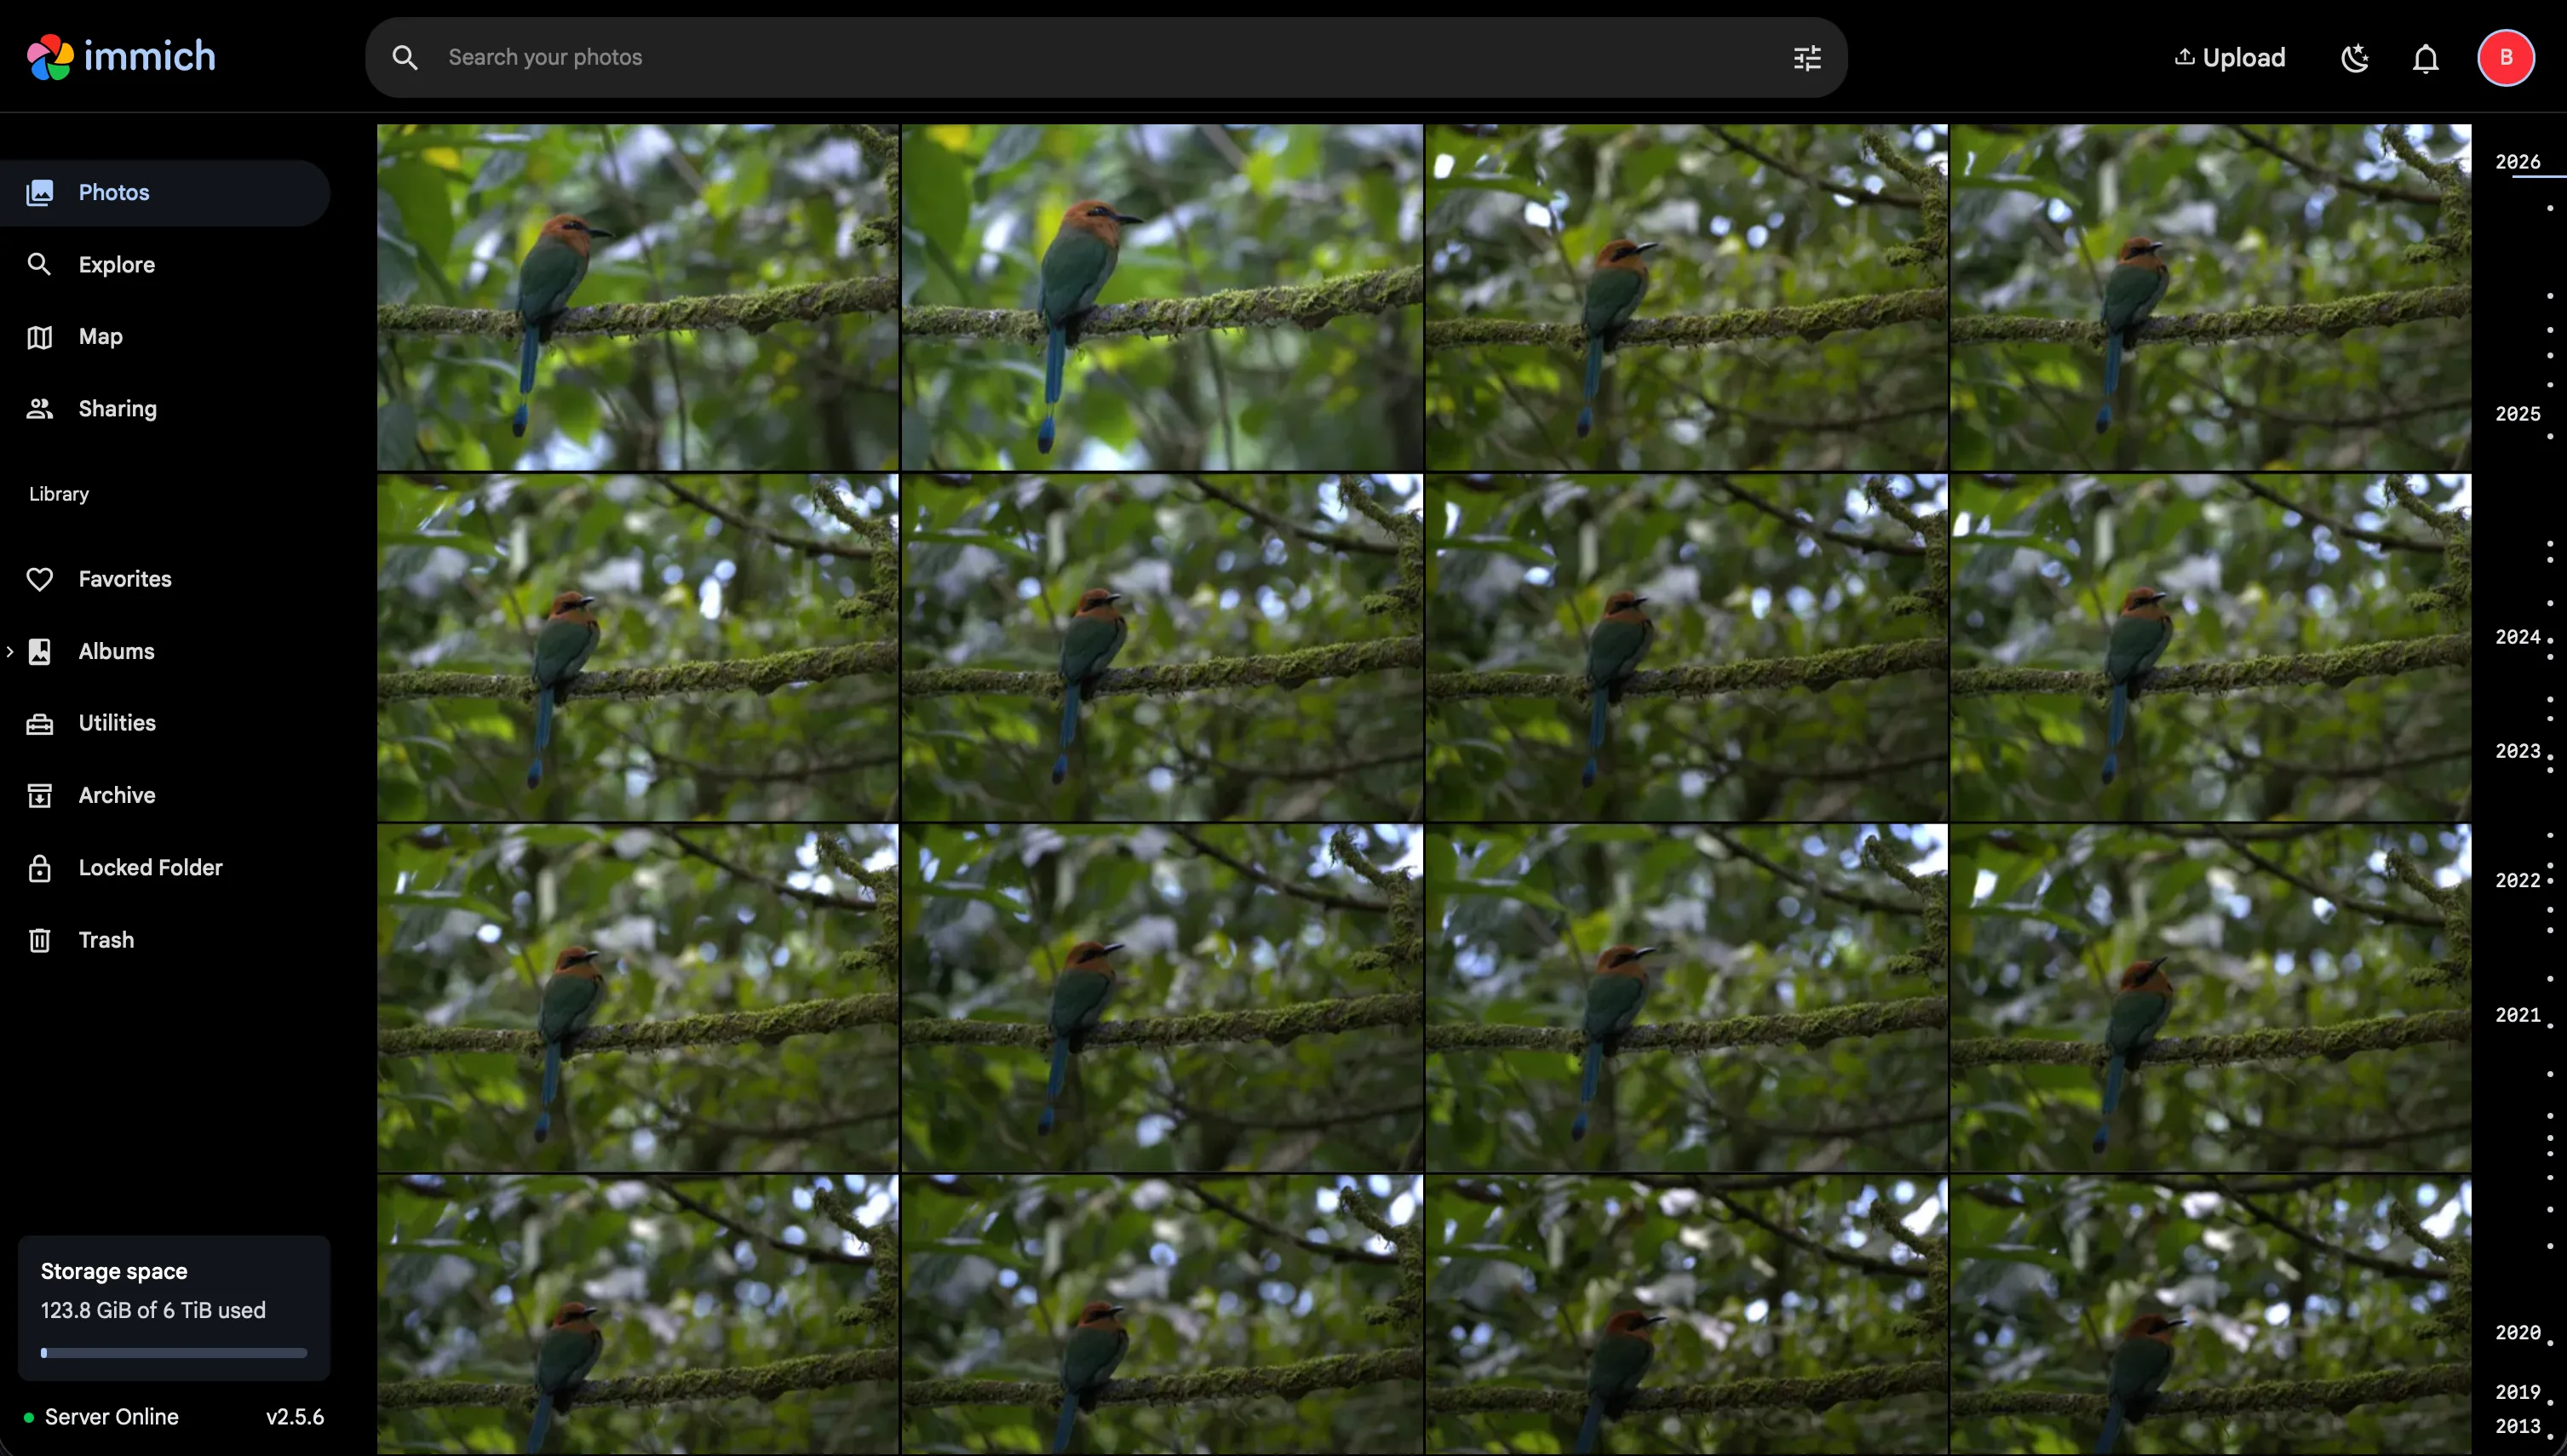
Immich#
Immich is one of the most popular open-source self-hosted apps for managing photos and videos. I love that it also offers iOS and Android apps that allow you to back up photos and videos from your mobile devices. This is great if you want to rely less on services like Google Photos or iCloud. I’m currently using this to back up photos and videos from my phone.
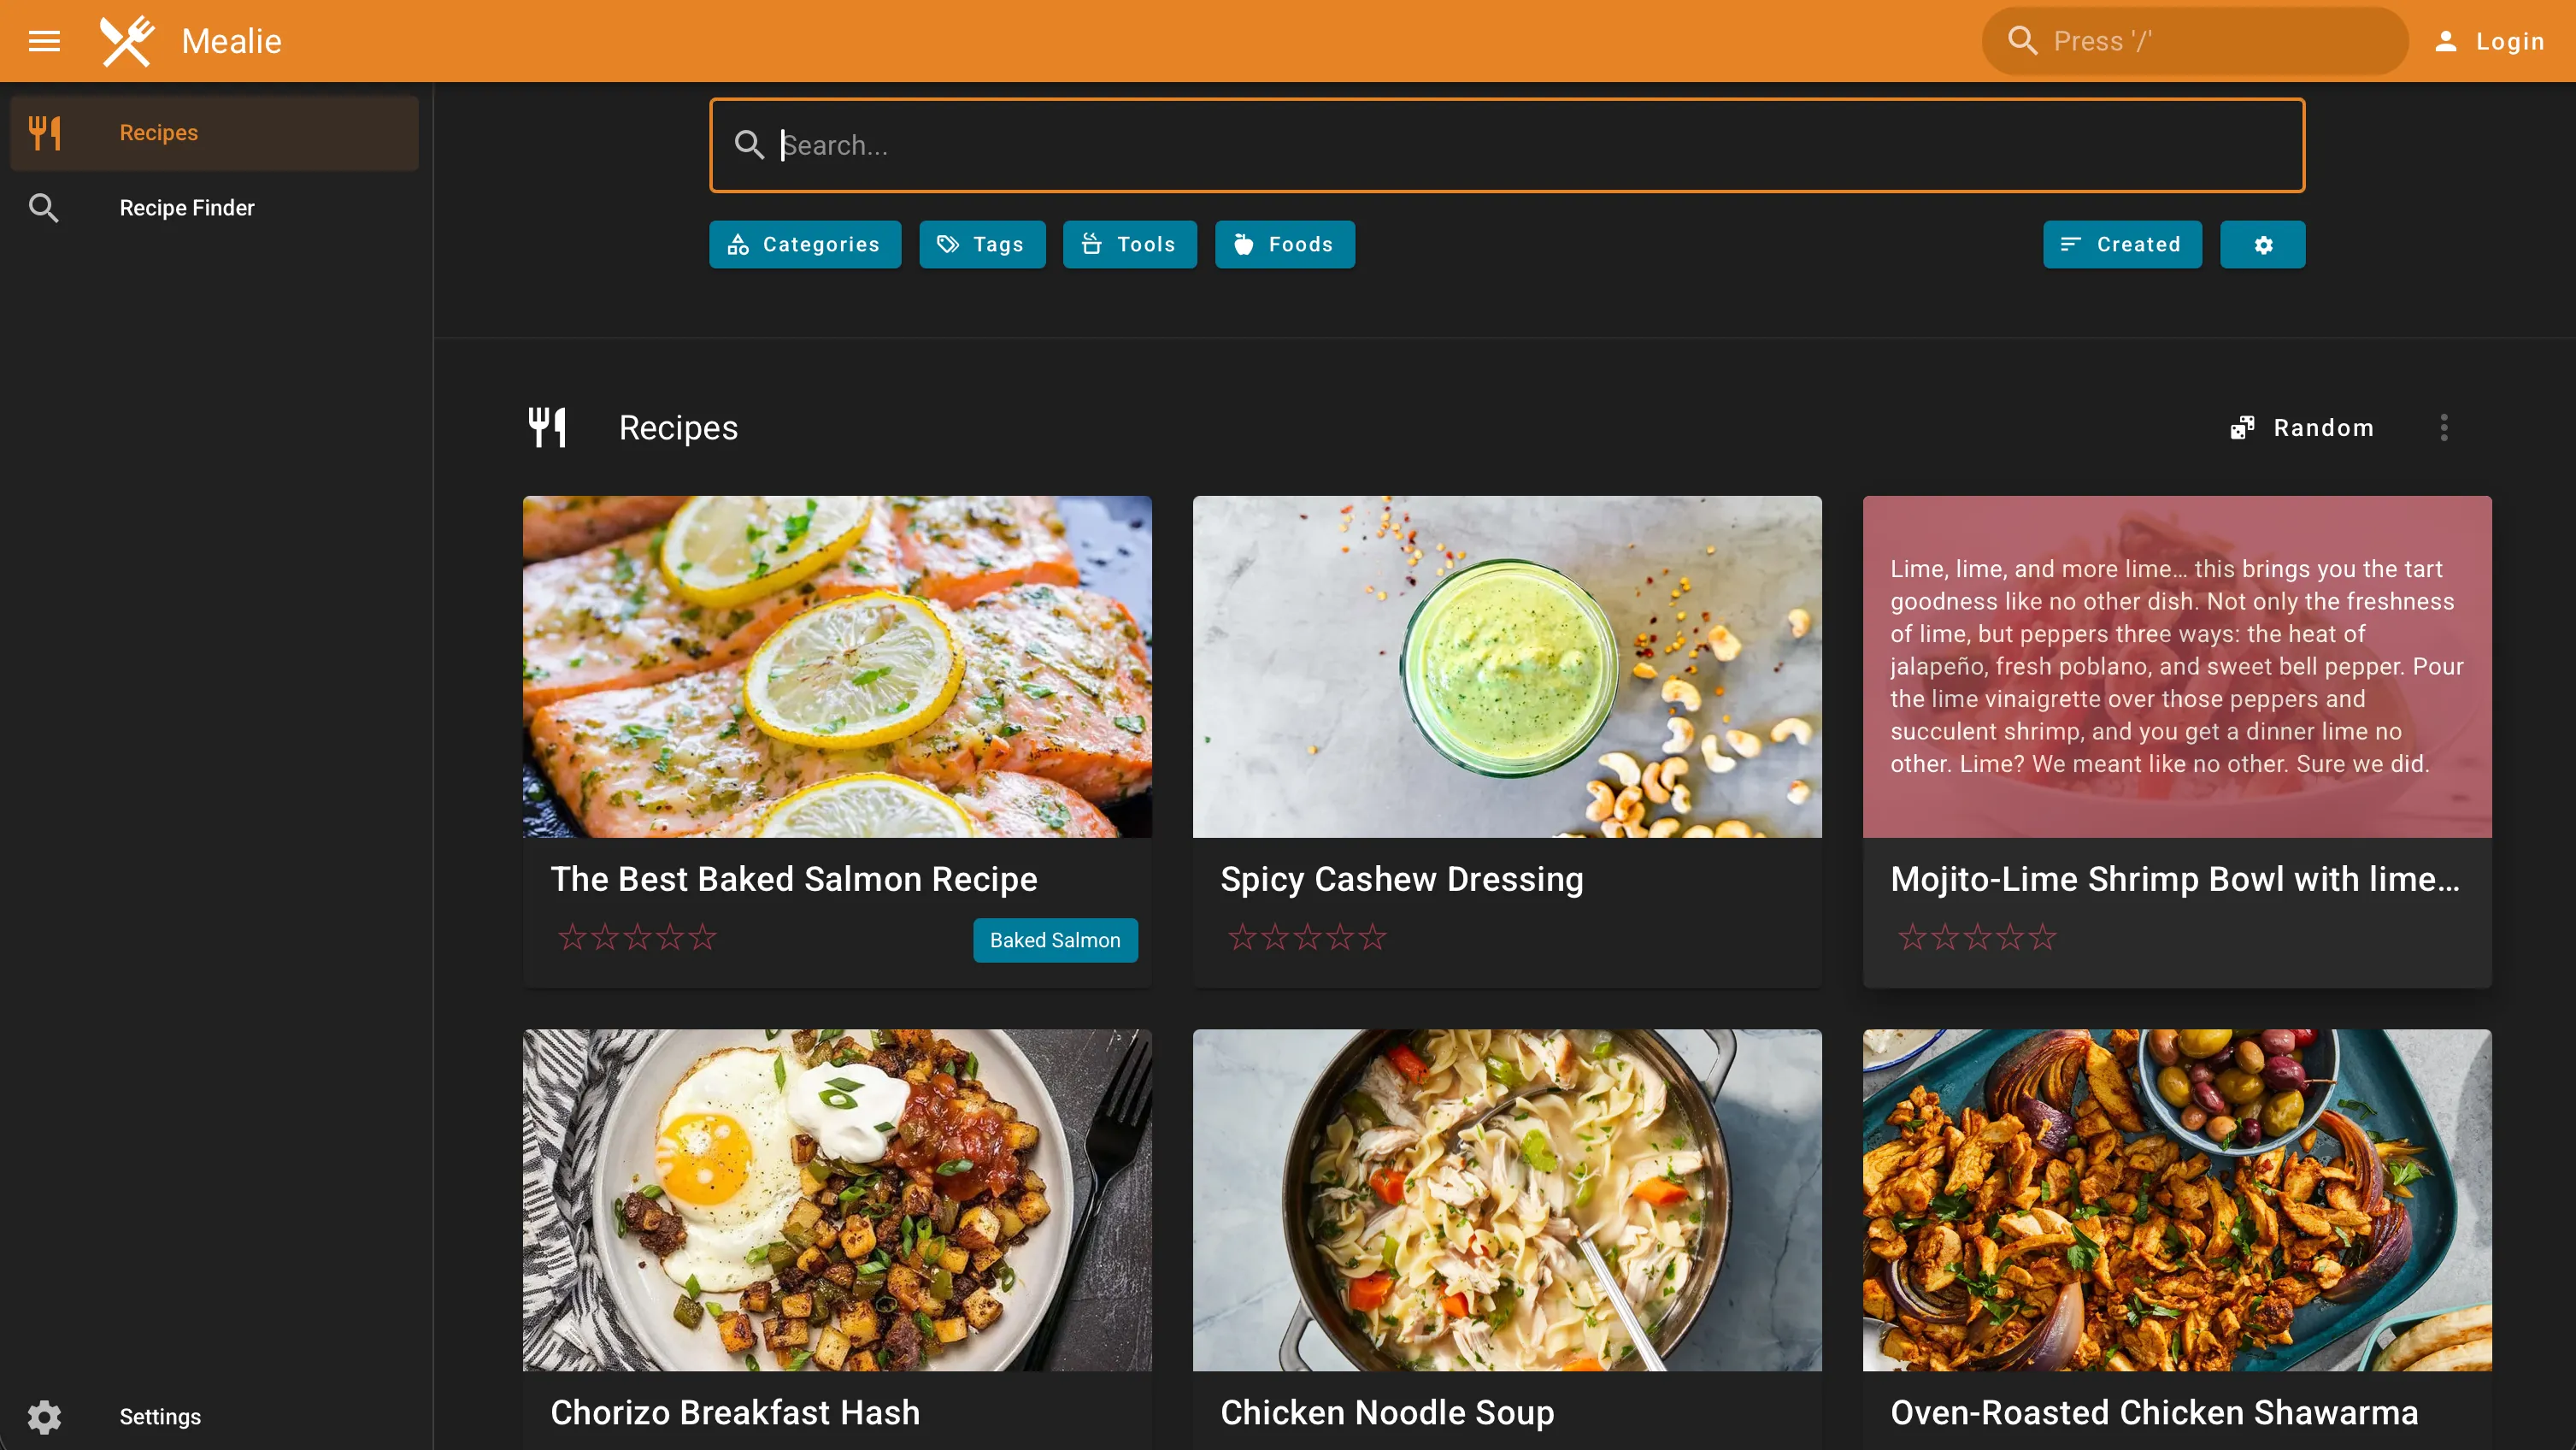
Mealie#
Mealie is a recipe management tool that has made my meal prepping experience so much better! I’ve found it great for saving recipes I find on sites like NYT Cooking.
When importing recipes, you can provide the URL of the recipe and Mealie will scrape the ingredients and instructions from the page and save it in your recipe library. This makes it easier to keep track of recipes you find online and want to try out later.
Ollama#
Ollama is a backend for running various AI models. I installed it to try running large language models like qwen3.5:4b and gemma3:4b out of curiosity. I’ve also recently been exploring the world of vector embeddings such as qwen3-embedding:4b. All of these models are small enough to fit in the 8GB of VRAM my GPU provides. I like being able to offload the work of running models on my homelab instead of my laptop.
Remote Access#
When I’m not at home, I use Tailscale, a plug-and-play VPN service, to access my data and self-hosted apps remotely from any device. Tailscale builds on top of another tool called WireGuard to provide a secure tunnel into my home network.
The advantage here is that my homelab PC doesn’t need to be exposed to the public internet for this to work. Any device I want to use to access my homelab remotely needs to install the Tailscale app and be authenticated to my Tailscale network.
Next Steps#
Right now, accessing my apps requires typing in the IP address of my machine (or Tailscale address) together with the app’s port number. Because all of my services share the same IP address, my password manager has trouble distinguishing which login to use for each one.
In the future I’ll look into figuring out how to assign custom domain names to all of my services.